Getting started: create documents with mail merge in Microsoft Access
Although
Here we give an overview of how to create documents in MS Access using Access Mail Merge. If you have not yet done so, download it here.
Introducing the demo databases
- AccesMailMergeFeatures.accdb shows what elements (data, lists, tables, images, etcetera) that can be controlled in a particular document type – Word document, Spreadsheet or presentation.
- AccesMailMergeDemo.accdb shows document creation applies to a single and multiple records, automatic saving of the documents and recording and retrieval of created documents.
Using the AccesMailMergeFeatures.accdb database
The AccesMailMergeFeatures.accdb database lets you experience how to create a document from an access database yourself. Being in .accdb format, you have full access to the code – but it contains only a subset of what is implemented in the Demo database. Like with all non-compiled database versions, this database shows the full Access Mail Merge ribbon tab. Here you can get acquainted with creating new mail merge processes using the wizard and the template designer.
Open the AccesMailMergeFeatures.accdb database
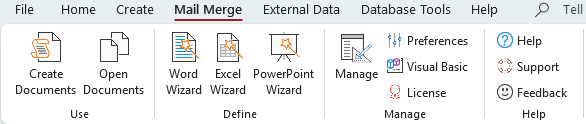
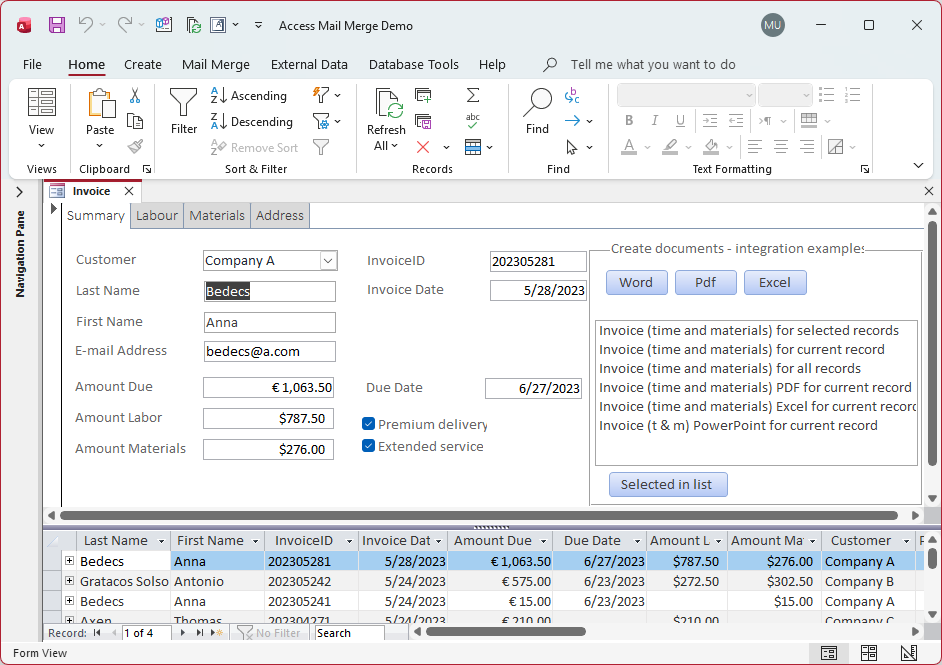
When you open the AccesMailMergeFeatures.accdb database the autoexec macro opens the main demo form Invoice. Additionally, a message pops up pointing to the extra ribbon tab Access Mail Merge (image above) which is made available by the 4TOPS add-on you installed.
Look at the example mail merge process
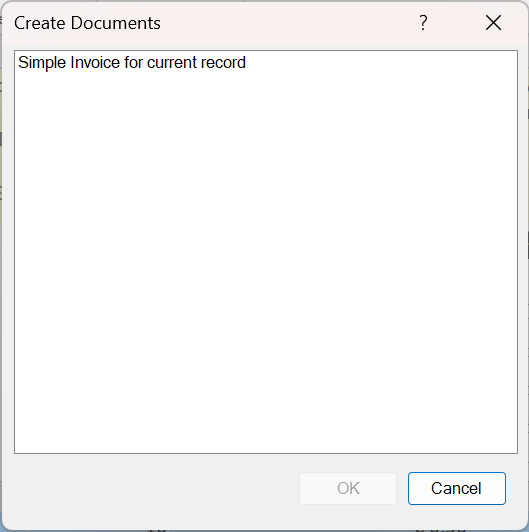
On the ribbon tab Access Mail Merge, press the Create Documents button. In the dialog that opens, select ‘Simple Invoice for current record’ and press OK.
The mail merge process is started. When ready a new Word document window opens showing the newly created Word document.

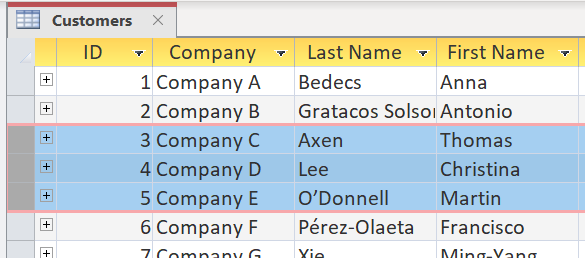
It is important to notice here that the content in the created document reflects the form – the source of the data. Further, the document table contains the data from the InvoiceLine subform.
Now make a mail merge process yourself
Here we will make a Word invoice. Again we start with the Invoice form open.
The most fundamental feature you require is the transfer of data in your Access database into a template at specified locations. Let’s try:
Define the Template
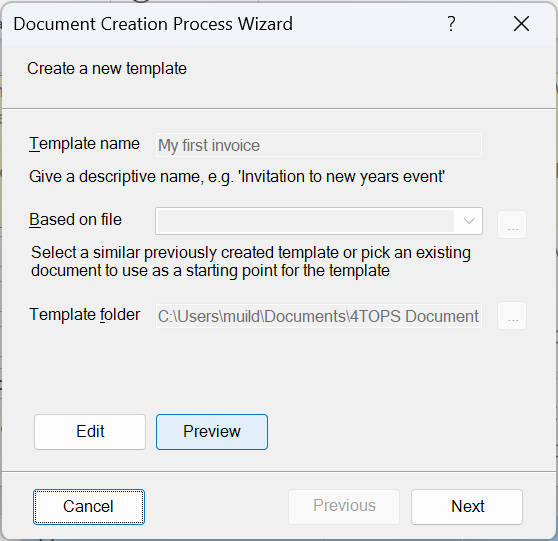
- On the ribbon tab Access Mail Merge, press the Word Wizard button. This opens the wizard dialog on the Template page.
- Give a descriptive name, select a sample document which you intend to automate and select a suitable template folder.
- Now press the ‘Create’ button. This will open the Word Template Designer (image below) where you drag the fields into the appropriate locations in your new template. When ready, close the Designer.
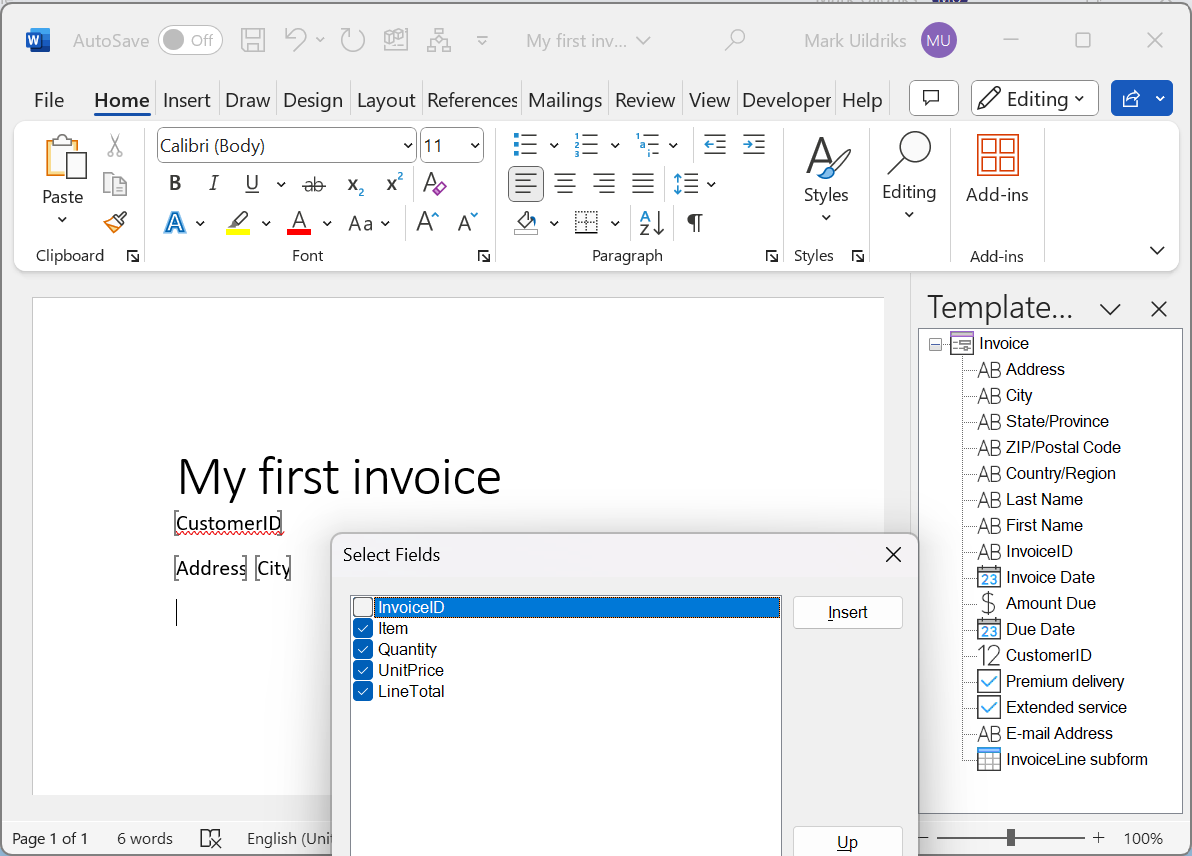
- Now the Preview button has become enabled. Pressing it will create a document filled with data from the current record of your data source. You will use this to see if what you did so far is sufficiently well, or whether you need to further Edit it. When satisfied, press Next.
Use default: process single record
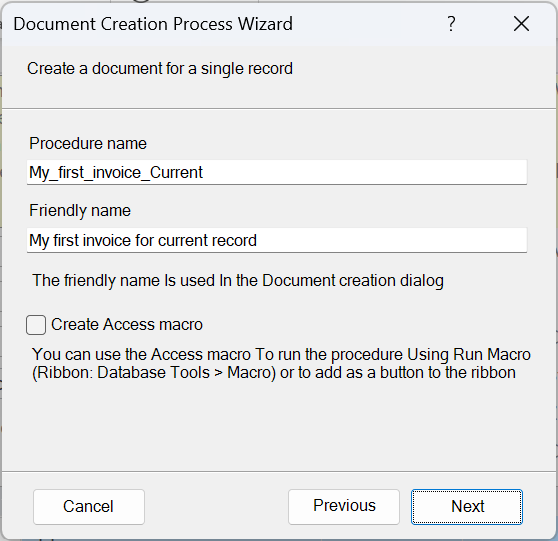
Now the question is posed if you want to create processes for a single selected and/or all records. We will ignore this and just go for the default: Create a document for a single record.
Name the mail merge process
The document creation wizard adds a VBA procedure to your database that produces documents. You obviously can call the procedure from your own code, e.g. using a button on a form. Alternatively, you can use the Create Documents dialog started from the ribbon – same as before. Also, you can choose to have a macro created (checkbox) which calls the procedure as yet another way to start the procedure.
The minimum specification now is in place. We press Next a few time (ignoring the possibility to specify the required automatic saving of documents – only available to licensed users) and Finish. The wizard does the required background changes to your database such as setting references to the Word library and adding VBA code.
Run the newly created process
You just finished creating your first mail merge process. Running it (ribbon, Create documents) should get you roughly the same result as before.
Make changes to the template
In many cases, sooner or later, you will decide that your template needs revision.
- From the ribbon, press the Manage button. This opens the Manage Documents Creation processes dialog.
- Select the process you want to change the template from.
- Press Edit – this opens the Template Designer.
After changes have been made the data transfer VBA code is automatically updated!
Manage processes.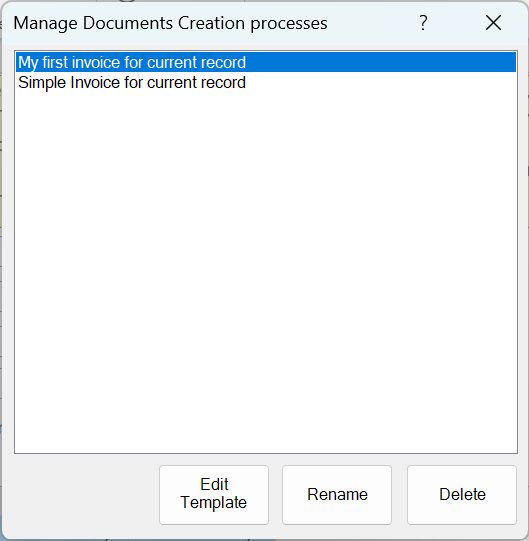
AccessMailMergeDemo.accdb: Office, automation and integration
Open AccessMailMergeDemo.accdb to see what can be achieved, both in terms of the different Office documents (Word, Excel, PowerPoint) it creates, the many process features such as which records to process and automatic saving of documents and the level of integration that can be achieved. This demo database is in .accdb format, meaning you can’t access the underlying code nor add new processes.
Users with a license can download the DemoFeatures.accdb version to see how things are implemented – notably the integration features. (In addition, the database shows some useful Access techniques that may be useful to you: using a tab control to make the form design better organized, using the split form to combine access to the form details with navigation from an overview datasheet and using form events and queries to update aggregate values in a parent table.)
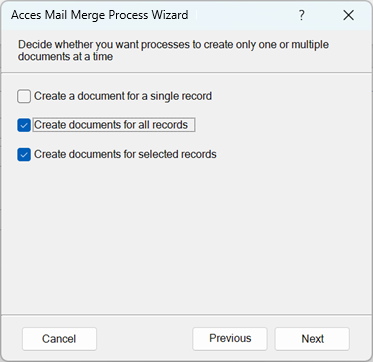
Create multiple documents at a time
A common requirement is to create a document for each of multiple records in one go. The normal case is that you create documents for all records – possibly after having applied a filter. Additionally, the document creation software allows you to create documents for a subset consisting of records selected using Access record selector.
Automatically save documents
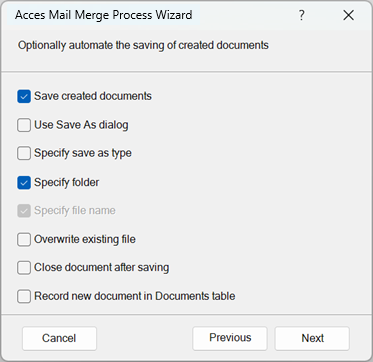
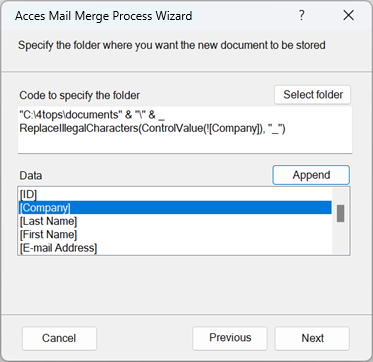
Checking the ‘Save created documents’ box on the above wizard saving options page gives you a plethora of options. Possibly the most important is that you can automatically save documents in a folder under a name based on field values as in the image below.
To make the mail merge process produce a Pdf file, check ‘Specify save as type’ on the saving options page. This will add an extra page that lets you select from the supported types.
Another important question is what to do when documents with the same name are created. You can choose to automatically overwrite, but the wizard supports other solutions such as adding a suffix.
Record documents in a table
Having the created documents easily accessible can be achieved by checking Record documents in the Save page of the wizard. This adds a table Documents to the database as a default location to store the typical information, on who created the document and when, and also a hyperlink giving direct access to the document. This uses the ‘RecordDocument’ procedure in the added ‘DocumentsTable’ module, which you are free to adapt as you like.